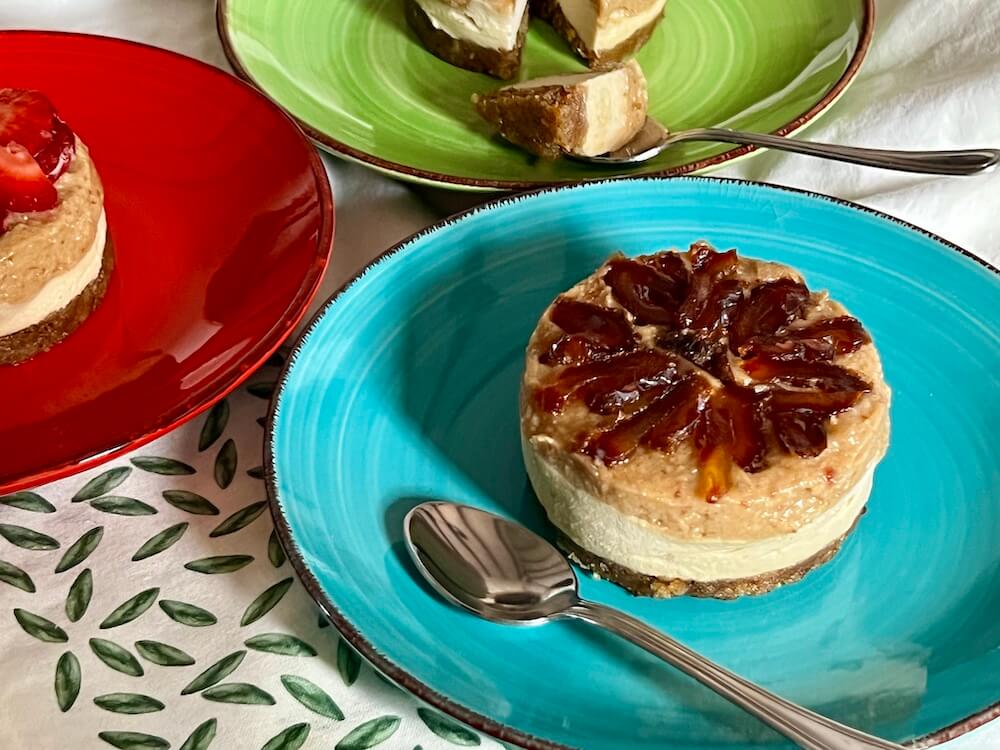
This post will show you the easiest way to make the most delicious raw vegan gluten free no-bake cheesecake you could ever wish for.
If you’re anything like me you might shy away from making fancy desserts and cakes because they seem like such a to-do.
Hmmm.
I did that for years.
Thought I didn’t need them in my life.
They’re a hassle, right?
Well, yes and no.
They seem to be a hassle if you aren’t used to making them. And because you don’t make them every day, they become a mañana, never-quite-happens, kind of thing.
But once you get out of your comfort zone, you’ll find these raw sweethearts aren’t actually all that difficult to make after all.
They aren’t quite as simple as these oil free chocolate brownies, but that would be almost impossible to beat because they’re just a matter of a one bowl mix-and-bake kind of event.
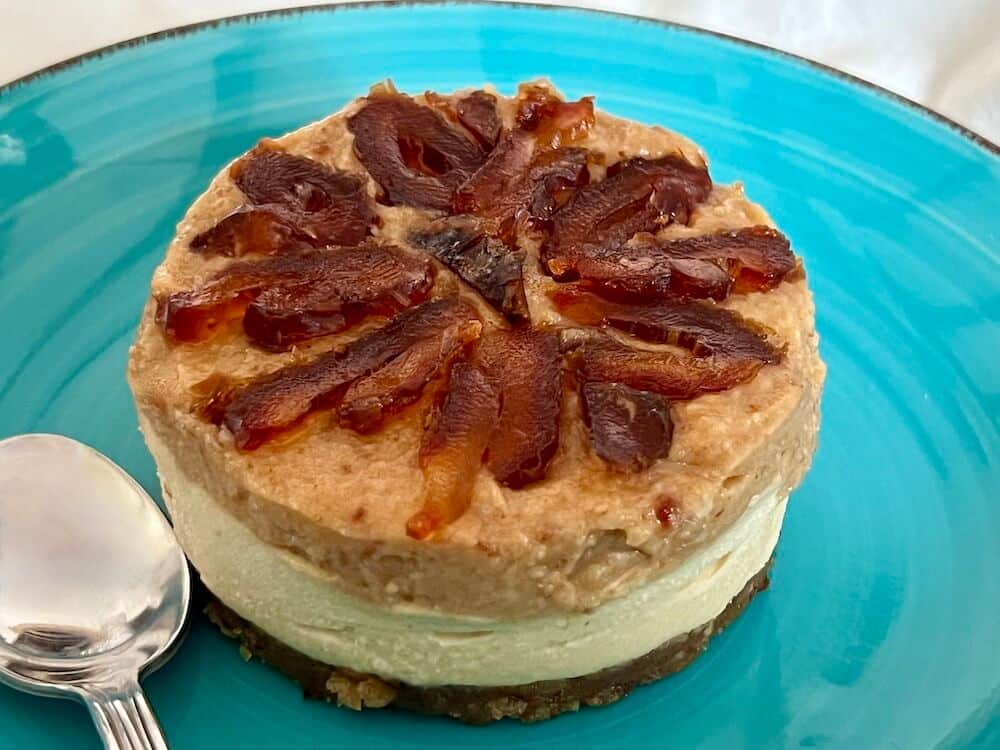
Table of Contents
Is this a Specific Recipe or a General Guide for Raw Vegan Gluten Free No-Bake Cheesecake?
The goal of this post isn’t to give you a specific recipe that you can make exactly the same, but rather to give you the tools to make it your way.
You can adapt it.
No, actually you need to adapt it.
Grab the things you have and throw them together.
Add more dates if you want it sweeter. Extra cashews to give more luscious cheesecake. Skip the caramel topping, whatever . . .
You know what I mean?
You don’t want to be worrying whether you’ve put enough of this or that ingredient in it – no, you want to creating an invention to suit the occasion every time you make them.
And the trick lies in just a few pointers.
Is it Difficult to Make Raw Vegan Gluten Free No-Bake Cheesecake?
No, it’s not difficult.
But as a caveat, you’ll probably feel like it’s a bit difficult the first time you make these just because, well you know, how damp actually should this base be? How sweet do I want this filling? Will these desserts actually set ok. Does my filling even taste right. . . ? and so it goes on.
But that’s cool. That’s just normal when you’re making something new.
And once you get a taster for these impressive looking beauties, you’ll realise that you can make them over and over again. Guaranteed.
And you can make them much more symmetrical than I do if you want! I just like to throw them together and let them take a general shape. But you can smooth them off and make them picture-perfect if you prefer.
That’s the same with my favourite energy protein balls – I just make them into rough balls instead of perfecting their symmetrical beauty. Why is that, I wonder? I mean for me, that’s enough. More isn’t necessary.
So the purpose of writing this is to introduce you to the beauty of making raw vegan treats and give you the wings you need to fly with it.
In fact, since writing this post I’ve also fallen in love with this raw vegan caramel chocolate cake, so I guess it’s just the beginning.
It’s just like opening a door. Once you’ve walked through it, there’s no going back.
Or like knowledge. When you know something, you can’t un-know it.
And so it is with this.
You can play with it. Make it your own. Do whatever you want.
Make it sweeter or less sweet; harder or softer; bigger or smaller. Use walnuts, pecans, hazelnuts or almonds, cashews or pine kernels or a great big mix of nuts.
Give these sweeties a fatter base or a thicker cheesy part. Top with caramel or leave without.
There’s just no limit once you have the basic method nailed.
If you make them following these steps, you’ll find they’re not very firm when you first put them together and they do need to be put in the freezer to firm up.
What You Need for Making Raw Vegan Gluten Free No-Bake Cheesecake
- A blender – you don’t have to have one of those super trendy amazingly powerful blenders (but wow, if you do, great!) but you do need to have a food processor that can blend nuts into a paste. Most household food blenders will do this, just that some will take longer than others to achieve the results.
- Time – if this is your first time making this kind of thing, you’ll need to set aside a bit of time for the blending and decorating and the putting-it-all-together. If you have a couple of hours free that would be great. If you only have an hour, you can still do this as long as you don’t faff-around with too much indecision hahahah. (I would know – I can be a great procrastinator in the kitchen when the mood hits me.) But there again, if you already know what you’re doing, well in that case you can probably whip these together in half an hour, no problem.
What You Need for the Base of the Raw Vegan Gluten Free No-Bake Cheesecake
- Nuts of your choice – the base of this type of dessert or cake is basically made from nuts. You can use hazelnuts or walnuts or experiment with any other nut of your choice.
- Dates – dates are the secret (or not-so-secret) weapon in this process. They act as a sweetener and texture-giver all in one. You can use whatever dates you can get your hands on, but the actual individual date will affect how many of them you need and also the final texture/flavour. Use cheaper dates if you’re on a budget – the resulting cake will still be awesome – but buy Medjool dates if you don’t mind the extra cost, just because they’re that much more powerful in flavour and substantial in texture.
- Lemon – a squeeze of lemon is an option if you need to tweak the flavour of if the base is too dry.
- Switch Lemon for Coconut oil – you can use coconut oil instead of lemon to give the base its solidity. I prefer not to add coconut oil because I like to avoid adding more fat because these are already high in natural oils from the nuts.
What You’ll Need for the Cheesecake Part of the Dessert
- Cashews – for the cheesecake part you’ll need about 300 g of unsalted cashews for 4 of these desserts or more if you want a thicker filling than shown in the pics.
- Coconut milk – about 1/4 of a tin of creamy coconut milk, or you could switch it out for a different plant milk.
- Maple syrup – Or some other form of sweetener (or you could experiment and use more dates in this part too). I use maple syrup. I never use sugar for anything at all in my cooking. In fact I almost never use any type of sweetener other than dates. But for this recipe I made an exception and bought some maple syrup to have on stand by for those extra-sweet occasions.
- Miso paste – 1 tsp of miso paste isn’t essential but it adds a lovely depth to the flavour of the cheesy part.
- Pinch of salt
- Coconut oil – I don’t use coconut oil but you can add a bit of it to help make the cheesy filling firmer when its served from the fridge.
Ingredients For the Caramel Date Topping if Using
- Dates, Medjool or other – they can be blended direct, or if rather hard and dry, first soaked in a tiny bit of boiling water to soften them for about 10 minutes. Mash them into the hot water and transfer the whole lot to the blender.
- Peanut butter – you can actually make a topping just out of dates, but I like to mix it a bit. If you don’t have any peanut butter you could try a different nut butter or even a bit of tahini in with the dates. 2 tsp peanut butter is enough with about 20 dates but then again it will all depend on your dates hahaha.
- A few cashews – only add the cashews if you want to change the consistency. If you’ve added too much water and your caramel topping is too thin, cashews will save the day. Or if you want to make it go further because you haven’t made enough to cover your cheesecake, cashews will save the day again. Or maybe you’re running low on dates, or you want a less sweet topping . . .
Decorative Toppings for your Raw Vegan Gluten Free No-Bake Cheesecake
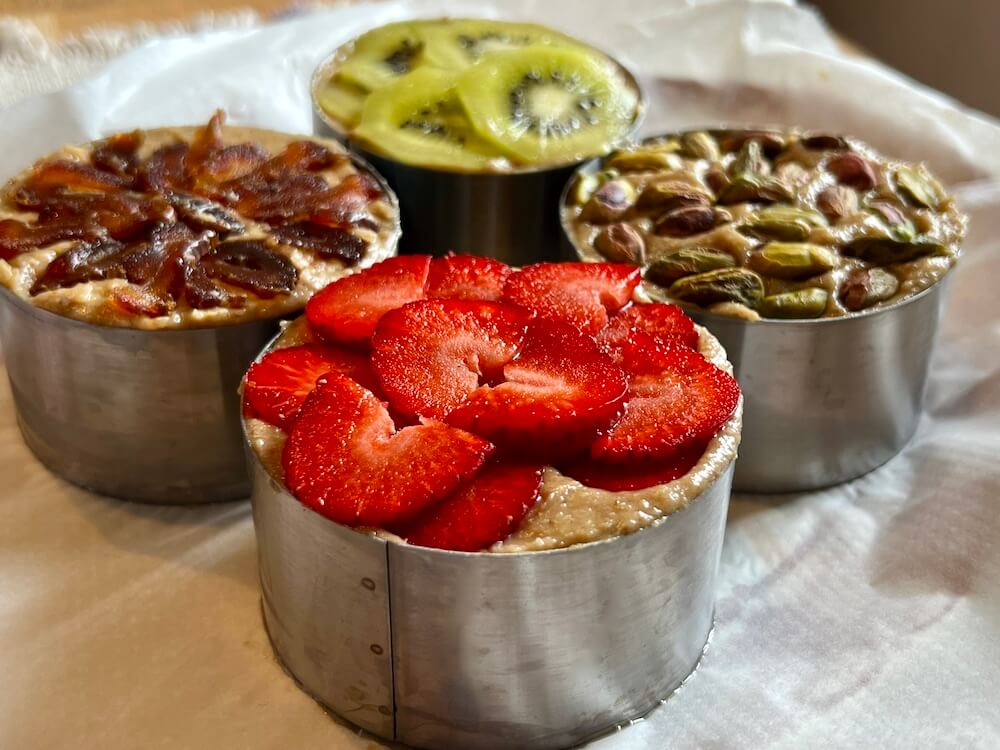
A bit of decoration on top doesn’t just make this dessert look pretty. It also gives the individual cheesecake some extra flavour. You can use almost anything as a topping; these are just a few suggestions.
Toppings
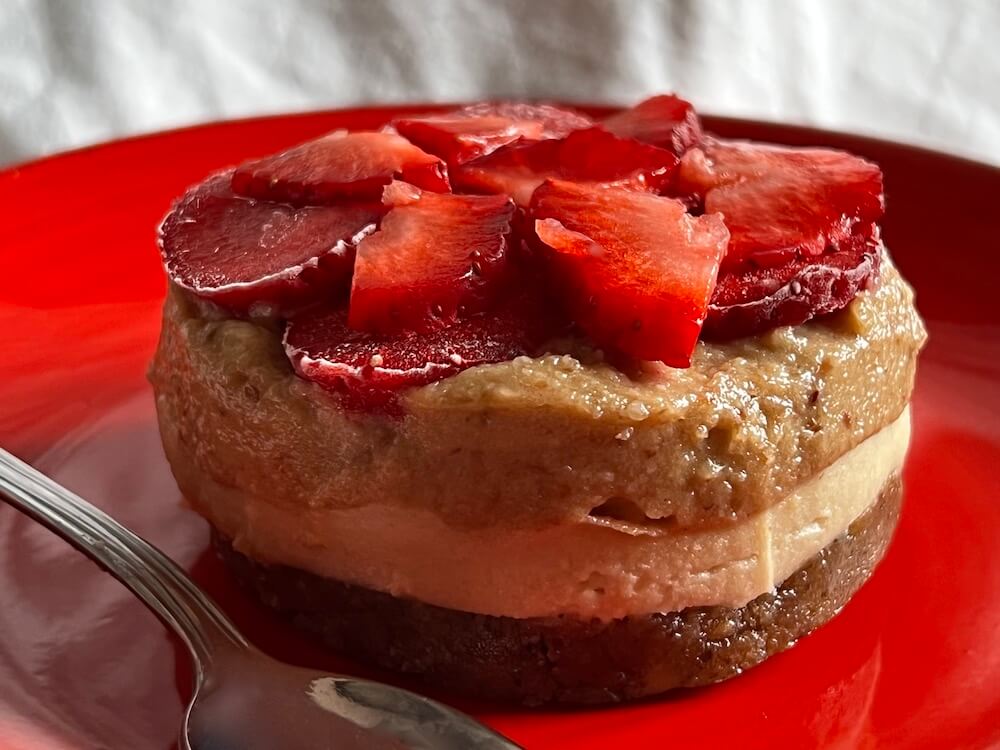
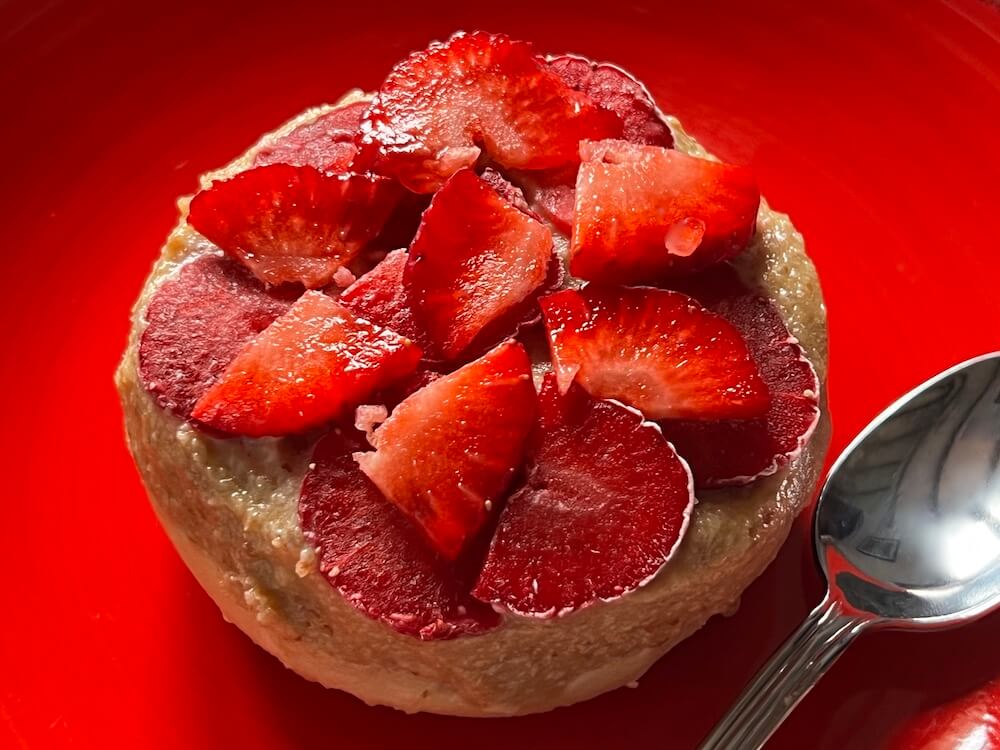
- Fresh strawberries – a timeless classic that goes perfectly with this cheesecake.
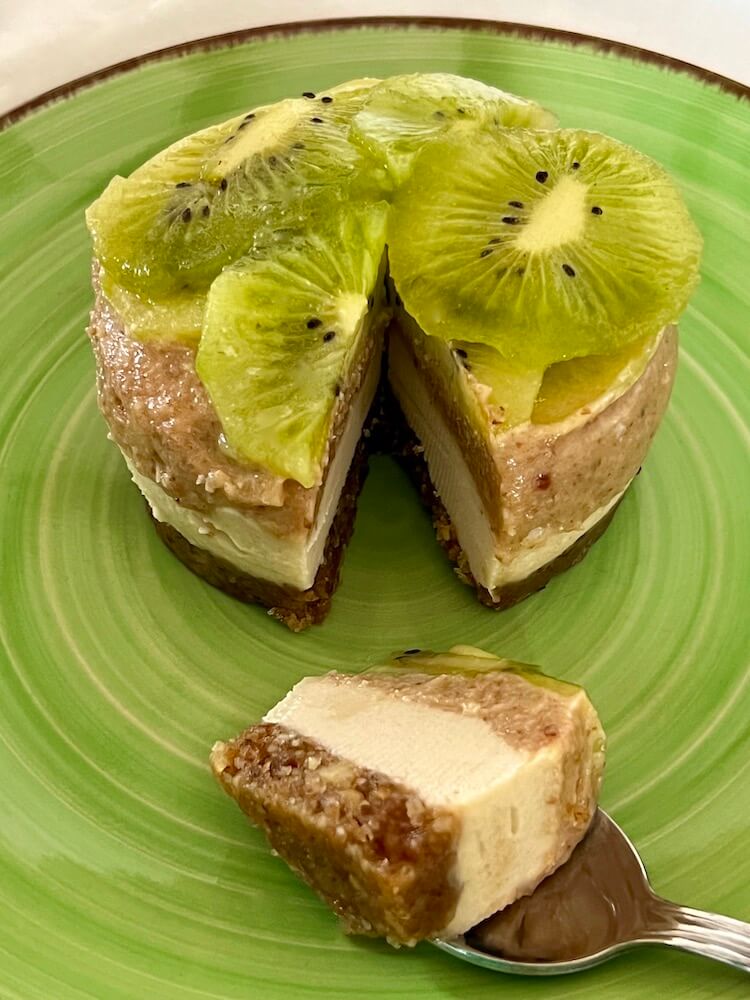
- Fresh kiwi – doesn’t stand up to the freezer so well. If you choose kiwi, I recommend adding it at the last minute.
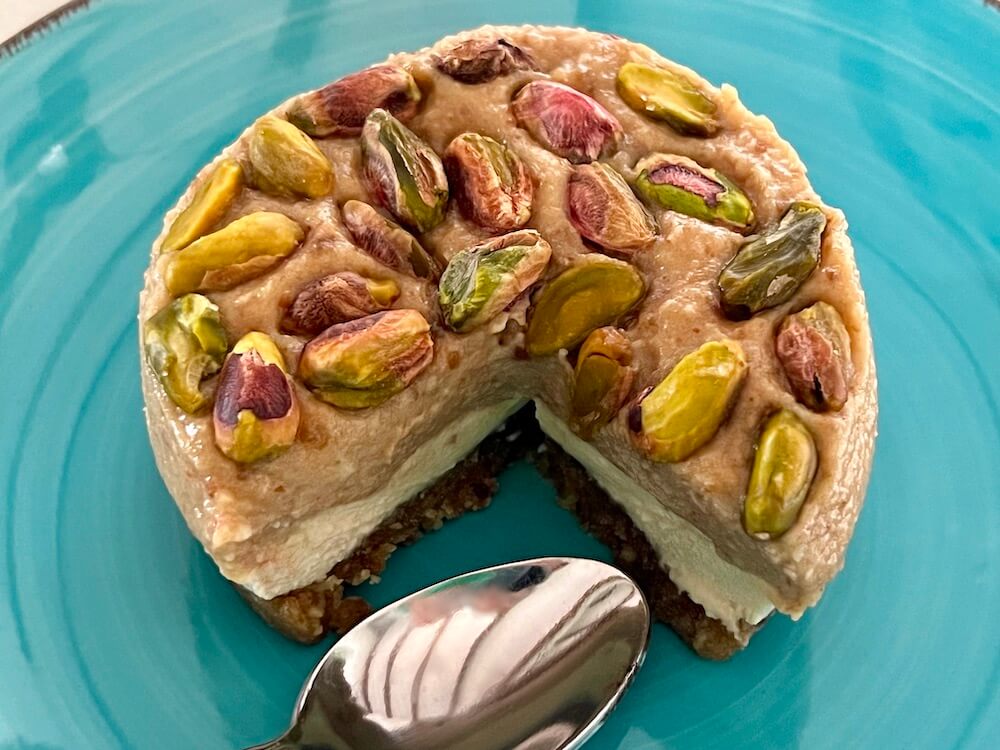
- Whole unsalted pistachios – I was surprised how well they went with the flavour combination.
- Frozen fruits of the forest – if you’re short on fresh fruit you could always use some from the freezer.
- Sliced dates – if you like an overload on sweetness!
- Grated vegan dark chocolate
Putting it All Together
You could make one tart-sized vegan cheesecake or you can make 4 smaller sized ones. I used cheese moulds to make these 4 and each one is larger than a portion because this is a very rich dessert.
- Layer the bottom of your tart dish or moulds with a layer of your base ingredients and put into the fridge or freezer while you make the second layer (or final layer if that’s the case).
- Make sure you pat down the base layer well, repairing any breaks that are in it so that it’s one uniform layer. You can use baking paper to do this part so that you don’t actually touch the food with your fingers while pressing it down.
- Fill your moulds right to the top with the second layer, or leave space for a top layer of caramel.
- Return them to the freezer for 30 minutes or while you make the third and final layer.
- You can put the final decorative toppings on them now to save doing it later, but they will always look fresher if you add them last minute, when you want to eat the cheesecakes. I add them now because I don’t like the idea of still having a job to do!
- When you’re done, return the cheesecakes to the freezer to cool down and get more solid. They can stay there for up to 2 hours no problem.
- If you want, you can leave them to freeze, otherwise remove them from the freezer and place them in the fridge. They are best served from the freezer but not frozen.
- Enjoy!
Note: for a firmer version you can add coconut oil to all the layers. Coconut oil goes solid in the fridge so it acts as a solidifier for recipes like this. I prefer not to add it, but purely from a calorie and fat point of view.
Raw Vegan Gluten Free No-Bake Cheesecake Recipe
Ingredients for the Base
- 100 g walnuts or hazelnuts or other nut
- 6 dates (vary according to results)
- pinch of salt (to taste)
- 6 cashews (to taste)
Directions for the Base
- Put your nuts into a blender and blend until they’re chopped up fine. Add a pinch of salt and the dates. Blend until it starts turning into a damp almost-paste-like consistency.
- Taste the mixture and add more salt or dates according to taste. Don’t expect it to taste wow just yet. Just go for the balance of the flavour. If it’s too thin add more nuts. Too bland a pinch of salt. Too dry or lacking contrast to the sweetness, you can always add a squeeze of lemon.
- Now all there’s left to do is to put it into your containers and pat it down so that it’s covering the base without any gaps. Knead it gently together to get rid of the holes, using a piece of baking paper so that you don’t touch it with your fingers.
- Place your containers into the freezer while you prepare the filling.
Ingredients for the Filling
- 300g cashews soaked overnight, rinsed and drained (tip: soak extra so that you can tweak as necessary)
- 1/4 tin coconut milk
- juice from 1/2 a lemon
- 1-2 tablespoons of maple syrup according to preference
- 1 tsp miso paste
- pinch of salt to taste
Directions for the Cheesecake Part
- Add the soaked cashews to the food processor and blend to chop them up.
- Squeeze on a little lemon juice and blend again.
- Pour in some of the creamy coconut milk, 1 tsp white miso paste, 1-2 tbs maple syrup a pinch of salt and blend.
- Taste the mixture and adjust as necessary.
- Note: Add less than the recipe says, taste, then add more. So a small squeeze of lemon first and 1 tbs maple syrup. When tasting the mixture, decide to increase or not each flavour.
Ingredients for the Caramel Topping
- 10-20 dates – I used 200g for this recipe this time but it does depend on the dates
- 2 tablespoons hot water – to soak the dates if they aren’t Medjool
- 2 tsp peanut butter
- salt to taste
- a little water for blending
- It’s easy to add too much water because it makes blending easier. If this happens, just add some of the soaked cashews to thicken up the mixture again.
Directions for the Caramel Topping
- Blend the dates together with a touch of water, the peanut butter and a pinch of salt. Taste and if you think it’s a bit thin, add a few cashews, or if you want to bulk out the texture a little.
Serving and Storing this Vegan Cheesecake
It’s important not to serve this cheesecake immediately. It needs to go into the freezer for 1-2 hours to firm up. Otherwise it will be soft like a pudding rather than a cheesecake.
It’s a very rich dessert so I would cut it into small pieces and serve like that rather than give someone the whole individual cheesecake. One of these cheesecakes cuts nicely into 8 small pieces, with 2 pieces being served per person. Admittedly, if you like sweet things, you may want more than that, but I found that to be just about the right amount.
Keep your cheesecake in the freezer and take it out just before you want to serve it. It can be sliced straight from the freezer but the flavour will be impacted so it’s best to remove it a little while before eating.
I hope this post helps you to create this delicious all-natural treat for an awesome dessert or sweet cake whenever you feel that indulgence coming on!
